Sweet and Sour Chicken Recipe – Crispy, Tangy, and Better Than Takeout
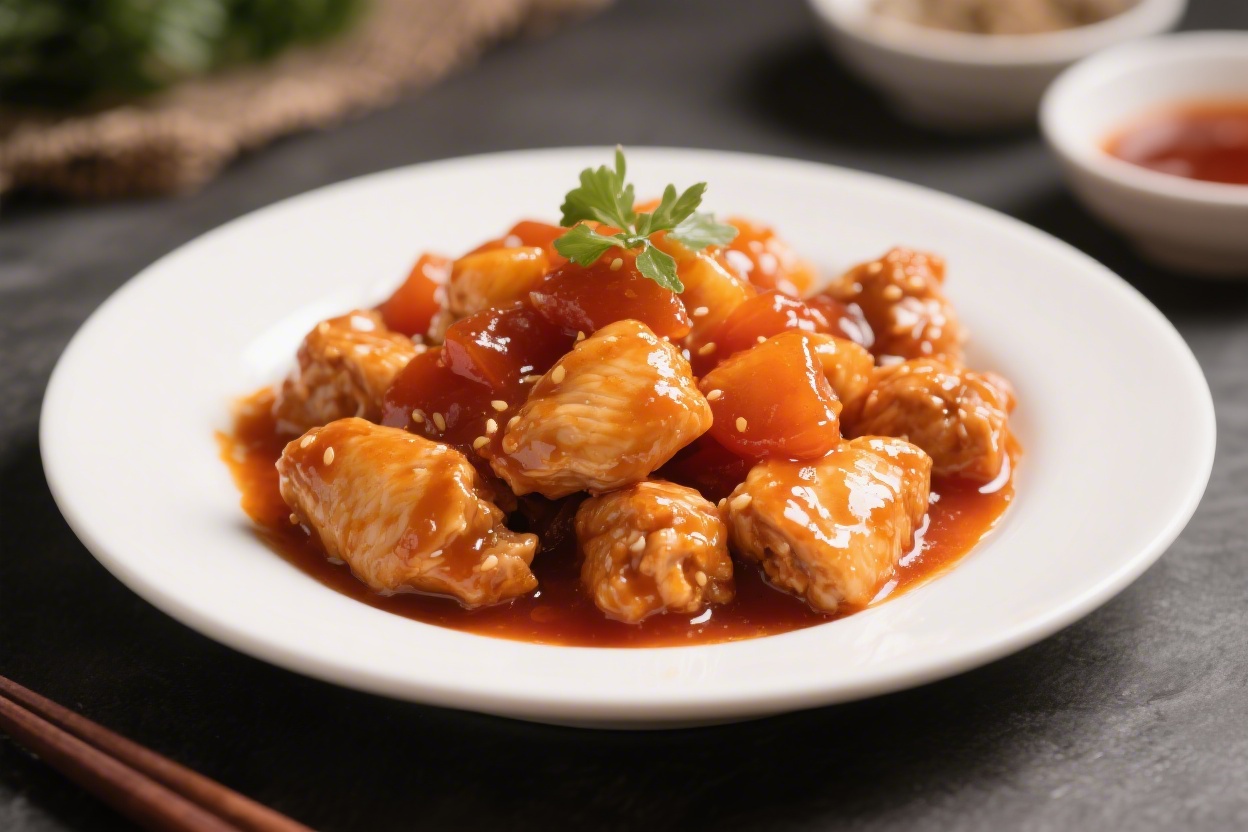
Sweet and sour chicken is one of those dishes that makes everyone at the table happy. It’s bright, crunchy, and bursting with a perfect balance of tangy and sweet. This version keeps things simple without losing that classic restaurant flavor.
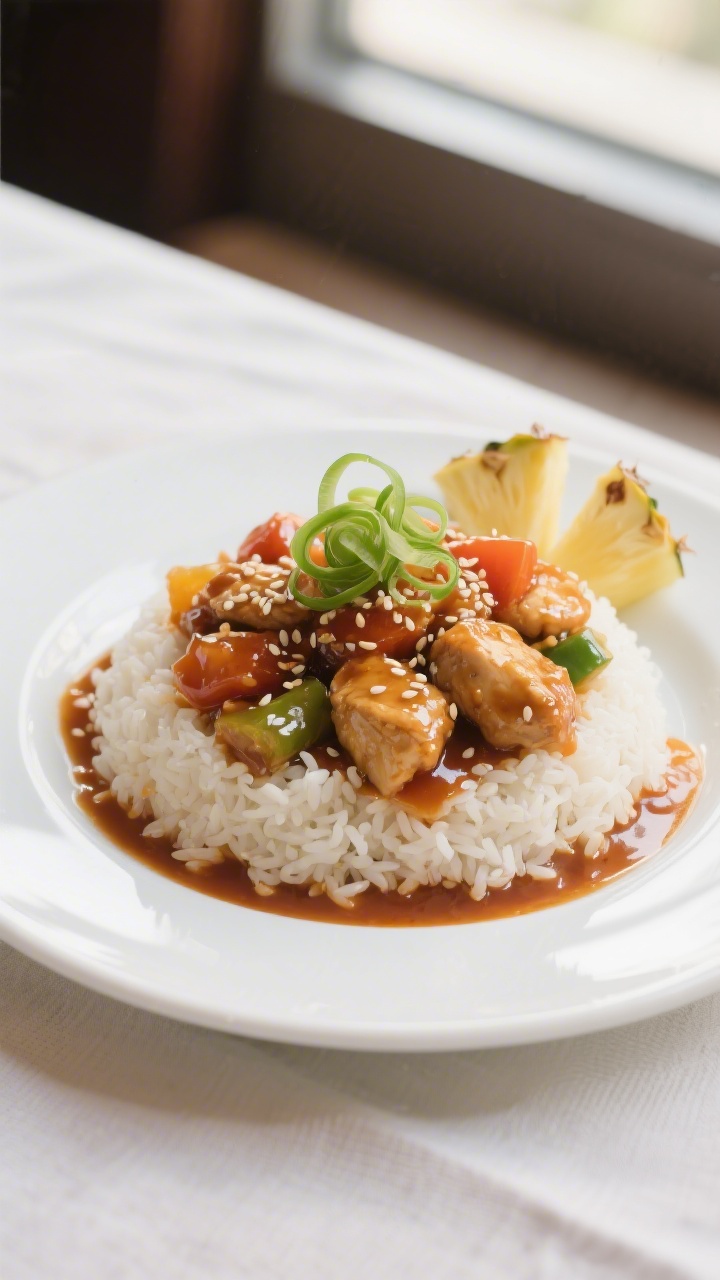
You’ll get crisp chicken bites, tender peppers, and a glossy sauce that clings to every piece. If you’ve never made it at home, you’ll be surprised at how doable it is—and how fast it disappears.
What Makes This Recipe So Good

This recipe nails that sweet-tangy balance with a sauce that’s not too sugary and not too sharp. It’s thick enough to coat the chicken without turning gloopy.
The chicken is lightly battered for a crisp exterior that holds up in the sauce. You can make the whole dish in about 30–40 minutes, start to finish.
It’s also flexible. Use fresh pineapple or canned, swap bell peppers for what you have, and cook in a skillet or wok.
The method is straightforward, and most ingredients are pantry staples. Plus, it reheats surprisingly well, so leftovers make an easy lunch.
Shopping List
- Chicken: 1.5 pounds boneless, skinless chicken breast or thighs, cut into 1-inch pieces
- Seasonings for chicken: Salt, black pepper, garlic powder
- Coating: 1/2 cup cornstarch, 1/2 cup all-purpose flour, 2 eggs
- Oil for frying: Neutral oil like canola or vegetable oil
- Vegetables: 1 red bell pepper, 1 green bell pepper, 1 small yellow onion
- Pineapple: 1 cup pineapple chunks (fresh or canned, drained)
- For the sauce:
- 1/2 cup ketchup
- 1/3 cup rice vinegar (or apple cider vinegar)
- 1/3 cup sugar (adjust to taste)
- 2 tablespoons soy sauce
- 1 tablespoon oyster sauce (optional but great for depth)
- 1 tablespoon cornstarch + 2 tablespoons water (slurry)
- 1/2 cup pineapple juice or water (use juice from the can if you have it)
- Garnishes (optional): Sesame seeds, sliced green onions
- To serve: Steamed rice or noodles
Step-by-Step Instructions
- Prep the chicken. Pat the chicken dry. Season with salt, pepper, and a pinch of garlic powder.
This helps the flavor soak into the meat.
- Set up the coating station. In one bowl, whisk the eggs. In a second bowl, mix cornstarch and flour with a pinch of salt and pepper.
- Coat the chicken. Dip each piece in egg, then into the cornstarch-flour mixture. Shake off extra coating so you don’t end up with clumps in the pan.
- Heat the oil. Add about 1/2 inch of oil to a deep skillet or wok.
Heat over medium-high until it shimmers. A small pinch of coating should sizzle on contact.
- Fry the chicken in batches. Cook pieces for 3–4 minutes per side until golden and cooked through. Do not crowd the pan.
Transfer to a wire rack or paper towels. Crisp tip: Keep the heat steady; too low makes the coating soggy.
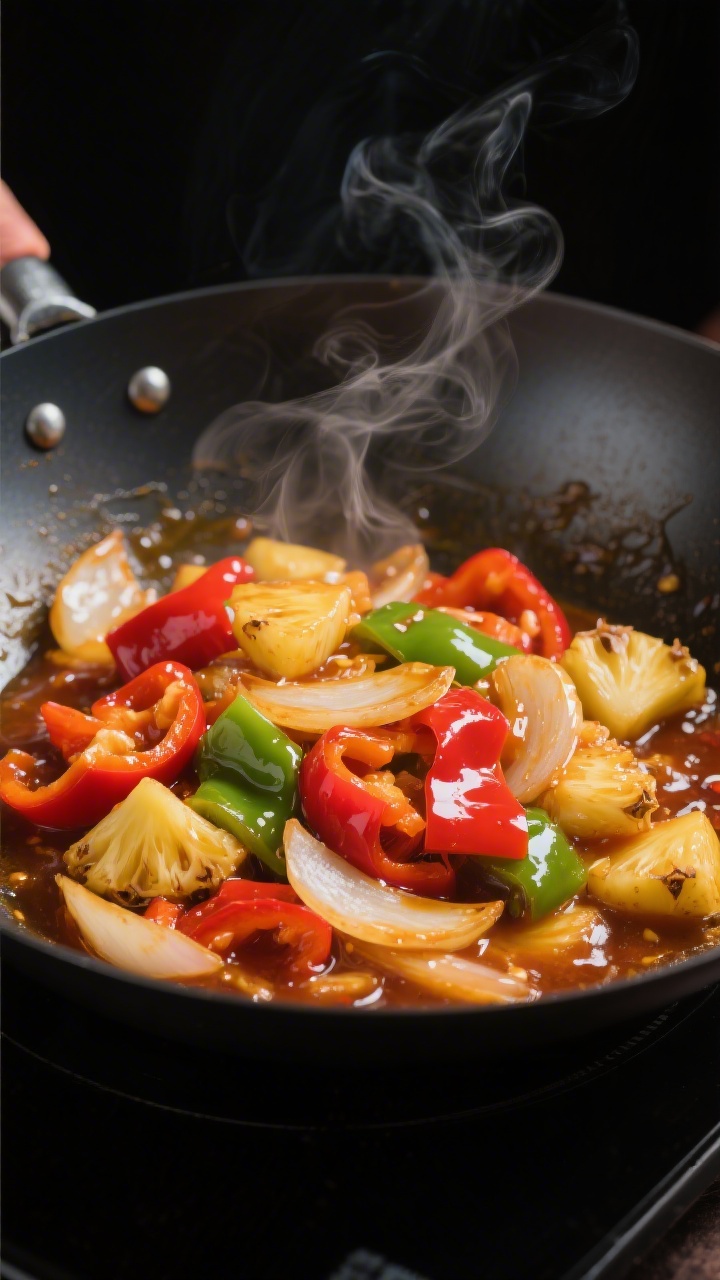
- Stir-fry the vegetables. Pour off most of the oil, leaving 1 tablespoon in the pan. Add chopped peppers and onions. Cook 2–3 minutes until slightly tender but still crisp.
- Add pineapple. Toss in pineapple chunks and stir for 30 seconds.
You want them warmed and lightly caramelized in spots.
- Make the sauce. In a small bowl, whisk ketchup, vinegar, sugar, soy sauce, oyster sauce (if using), and pineapple juice. Bring the mixture to a simmer in the pan with the vegetables.
- Thicken the sauce. Stir the cornstarch slurry, then pour it into the simmering sauce. Stir constantly until glossy and thick, about 1–2 minutes. If too thick, add a splash of water. If too thin, simmer another minute.
- Combine everything. Add the fried chicken back to the pan.
Toss gently so every piece is coated and warmed through, about 1 minute.
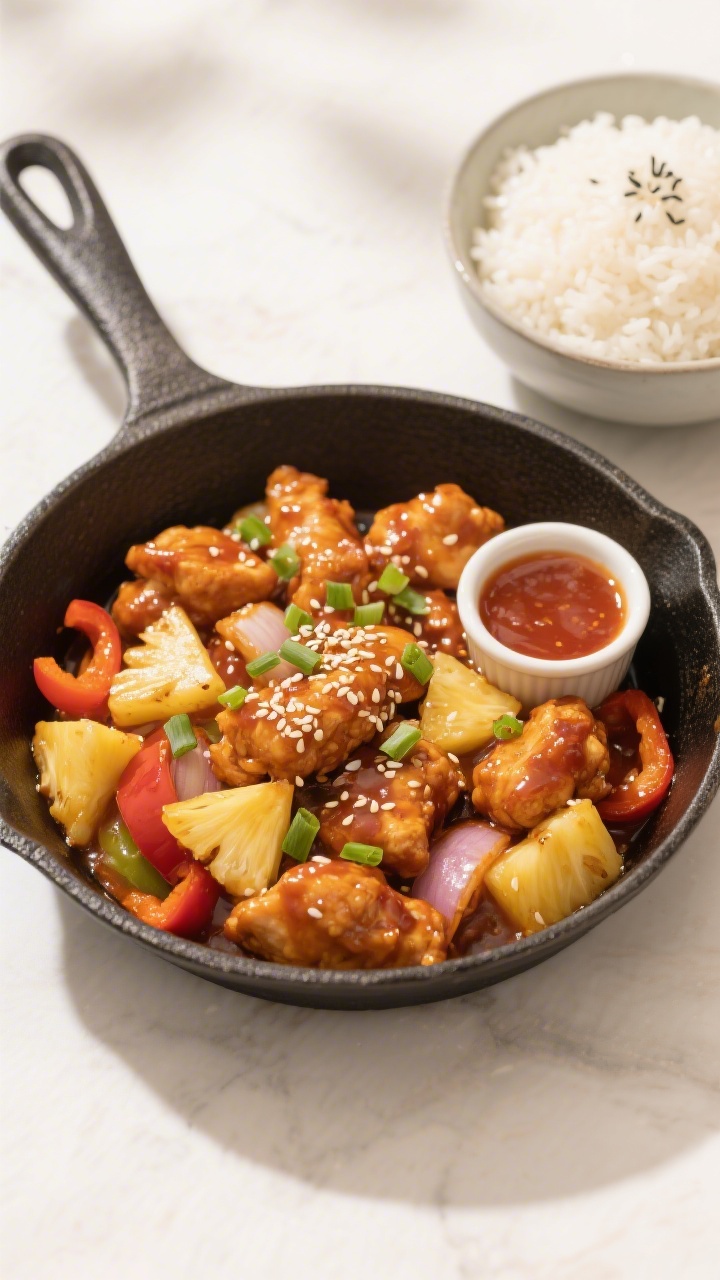
- Finish and serve. Taste and adjust: add a pinch of sugar for sweetness, more vinegar for tang, or a splash of soy for salt. Garnish with sesame seeds and green onions. Serve hot over rice.
How to Store
Let leftovers cool completely.
Store in an airtight container in the fridge for up to 4 days. The sauce may thicken in the fridge, which is normal.
Reheat gently in a skillet over medium heat with a splash of water to loosen the sauce. Microwave works too, but the coating won’t be as crisp.
For best texture, you can store the sauce and chicken separately and combine when reheating.
To freeze, place cooled chicken and sauce in a freezer-safe container for up to 2 months. Thaw overnight in the fridge, then reheat in a pan.
Benefits of This Recipe
- Balanced flavor: Tangy, sweet, and savory without being cloying.
- Customizable: Works with chicken breasts or thighs, and any mix of veggies you like.
- Meal prep friendly: Keeps well and reheats easily.
- Weeknight fast: Ready in under an hour with simple steps.
- Budget-conscious: Uses pantry staples and common produce.
What Not to Do
- Don’t crowd the pan when frying. Overcrowding drops the oil temperature and leads to soggy coating.
- Don’t skip seasoning the chicken. Salt and pepper up front make a big difference in the final flavor.
- Don’t overcook the vegetables. They should stay crisp-tender to keep the dish lively.
- Don’t add slurry to a cold sauce. The sauce needs to simmer to activate the cornstarch and thicken properly.
- Don’t let the sauce sit too long after thickening. It sets quickly; toss in the chicken right away.
Variations You Can Try
- Baked version: Skip frying. Toss coated chicken with a little oil and bake at 425°F (220°C) for 15–18 minutes, flipping once.
Finish in the pan with the sauce.
- Air fryer option: Lightly oil coated chicken and air fry at 390°F (200°C) for 10–12 minutes, shaking halfway. Add to sauce on the stovetop.
- Gluten-free: Use tamari instead of soy sauce and a gluten-free flour blend or all cornstarch for the coating.
- Extra heat: Add 1–2 teaspoons chili-garlic sauce, a pinch of red pepper flakes, or sliced fresh chilies to the sauce.
- No pineapple: Try orange segments or mango. Swap pineapple juice for orange juice.
- Veggie boost: Add snap peas, carrots, or broccoli florets.
Stir-fry until crisp-tender before adding sauce.
- Honey twist: Replace some sugar with honey for a rounder sweetness and lovely sheen.
FAQ
Can I use chicken thighs instead of breasts?
Yes. Thighs are juicy and forgiving, so they’re great here. Trim excess fat, cut into even pieces, and cook as directed.
Why is my sauce too sour or too sweet?
Vinegars vary.
Start with the amounts listed, then adjust at the end. Add a teaspoon of sugar if it’s too sharp, or a splash of vinegar if it’s too sweet.
How do I keep the coating crispy?
Fry at the right temperature and avoid crowding. Let chicken rest on a wire rack, not paper towels, so steam doesn’t soften the crust.
Toss with sauce just before serving.
Do I have to deep-fry?
No. Shallow frying in a skillet works well. You can also bake or air fry for a lighter version, then finish the chicken in the sauce on the stove.
What can I use instead of cornstarch?
Potato starch or tapioca starch work in the coating and slurry.
If using flour only, the crust will be less crisp, so keep the pan hot.
Can I make the sauce ahead?
Yes. Mix the sauce ingredients (without the slurry) and store in the fridge for up to 3 days. Heat and thicken with the slurry when you’re ready to cook.
What should I serve with sweet and sour chicken?
Steamed jasmine rice is classic.
Fried rice, plain noodles, or cauliflower rice are also great choices. Add a simple cucumber salad or steamed greens on the side.
Why did my sauce turn cloudy or chalky?
The cornstarch may not have cooked long enough. Keep the sauce at a gentle simmer and stir until it turns clear and glossy.
Can I make it vegetarian?
Yes.
Use crispy tofu or cauliflower florets. Coat and cook the same way, then toss with the sauce.
Is this recipe kid-friendly?
Usually yes. Keep the vinegar balanced, and skip extra heat.
Kids tend to love the sweet, tangy sauce and pineapple pieces.
In Conclusion
This sweet and sour chicken recipe gives you that classic, glossy finish with crisp chicken and bright, juicy vegetables. It’s simple enough for a weeknight but special enough for company. The sauce is balanced, the steps are easy, and the ingredients are flexible.
Once you try it at home, you may skip the takeout menu entirely.
Ingredients
Method
- Prep the chicken. Pat the chicken dry. Season with salt, pepper, and a pinch of garlic powder. This helps the flavor soak into the meat.
- Set up the coating station. In one bowl, whisk the eggs. In a second bowl, mix cornstarch and flour with a pinch of salt and pepper.
- Coat the chicken. Dip each piece in egg, then into the cornstarch-flour mixture. Shake off extra coating so you don’t end up with clumps in the pan.
- Heat the oil. Add about 1/2 inch of oil to a deep skillet or wok. Heat over medium-high until it shimmers. A small pinch of coating should sizzle on contact.
- Fry the chicken in batches. Cook pieces for 3–4 minutes per side until golden and cooked through. Do not crowd the pan. Transfer to a wire rack or paper towels. Crisp tip: Keep the heat steady; too low makes the coating soggy.
- Stir-fry the vegetables. Pour off most of the oil, leaving 1 tablespoon in the pan. Add chopped peppers and onions. Cook 2–3 minutes until slightly tender but still crisp.
- Add pineapple. Toss in pineapple chunks and stir for 30 seconds. You want them warmed and lightly caramelized in spots.
- Make the sauce. In a small bowl, whisk ketchup, vinegar, sugar, soy sauce, oyster sauce (if using), and pineapple juice. Bring the mixture to a simmer in the pan with the vegetables.
- Thicken the sauce. Stir the cornstarch slurry, then pour it into the simmering sauce. Stir constantly until glossy and thick, about 1–2 minutes. If too thick, add a splash of water. If too thin, simmer another minute.
- Combine everything. Add the fried chicken back to the pan. Toss gently so every piece is coated and warmed through, about 1 minute.
- Finish and serve. Taste and adjust: add a pinch of sugar for sweetness, more vinegar for tang, or a splash of soy for salt. Garnish with sesame seeds and green onions. Serve hot over rice.
Printable Recipe Card
Want just the essential recipe details without scrolling through the article? Get our printable recipe card with just the ingredients and instructions.

Sumayya is a home cook and recipe creator who shares simple, flavorful recipes made for everyday cooking. She believes good food should be easy, comforting, and enjoyed by everyone.