Easy Homemade Marshmallow Brownies – Soft, Gooey, and Chocolatey
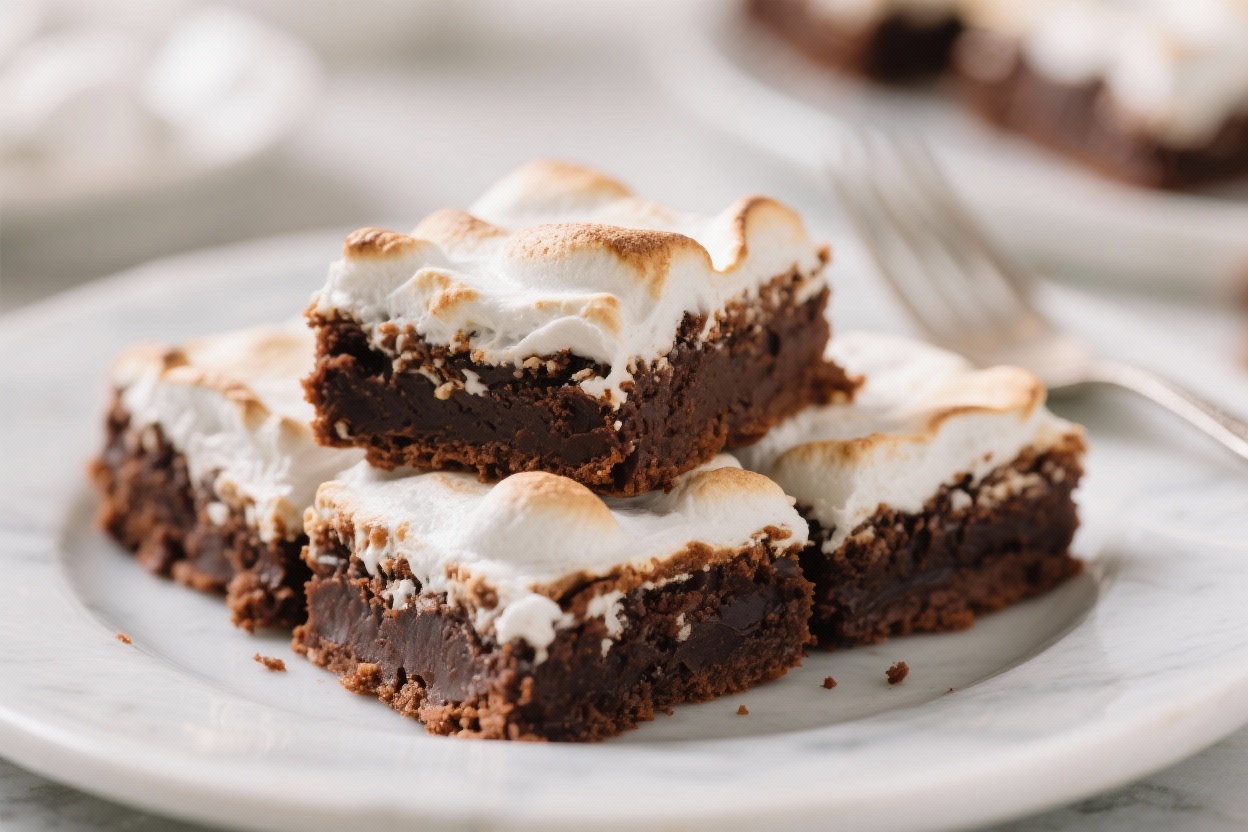
These brownies hit all the right notes: rich chocolate, a fudgy center, and a fluffy marshmallow layer that melts just enough to feel irresistible. They’re simple to make, but they taste like a bakery treat. No special tools required—just a bowl, a whisk, and a pan.
Whether you’re baking for a crowd or just want something cozy with a glass of milk, these brownies deliver. Expect a gooey bite, a little chew, and a lot of smiles.
Ingredients
Method
- Prep the pan and oven. Heat the oven to 350°F (175°C). Line an 8-inch square pan with parchment, leaving an overhang for easy lifting. Lightly grease the parchment and sides.
- Melt the butter. In a microwave-safe bowl or small saucepan, melt the butter until just liquid, not sizzling. Let it cool for 2–3 minutes so it doesn’t scramble the eggs.
- Whisk the wet ingredients. In a medium bowl, whisk the melted butter with the sugar until glossy. Add the eggs and vanilla, whisking until the mixture looks thick and slightly lightened, about 30 seconds.
- Combine the dry ingredients. In a separate bowl, whisk cocoa, flour, baking powder, and salt until no streaks remain.
- Make the batter. Add the dry mix to the wet and stir with a spatula just until combined. If using chocolate chips inside the brownies, fold in 1/4 cup now.
- Bake the base. Spread the batter evenly in the pan. Bake for 18–22 minutes, until the top is set and a toothpick inserted near the center comes out with a few moist crumbs. Don’t overbake.
- Add the marshmallows. Remove the pan and quickly scatter the mini marshmallows in an even layer over the hot brownies. Return to the oven for 2–3 minutes, just until the marshmallows puff and start to look glossy at the edges.
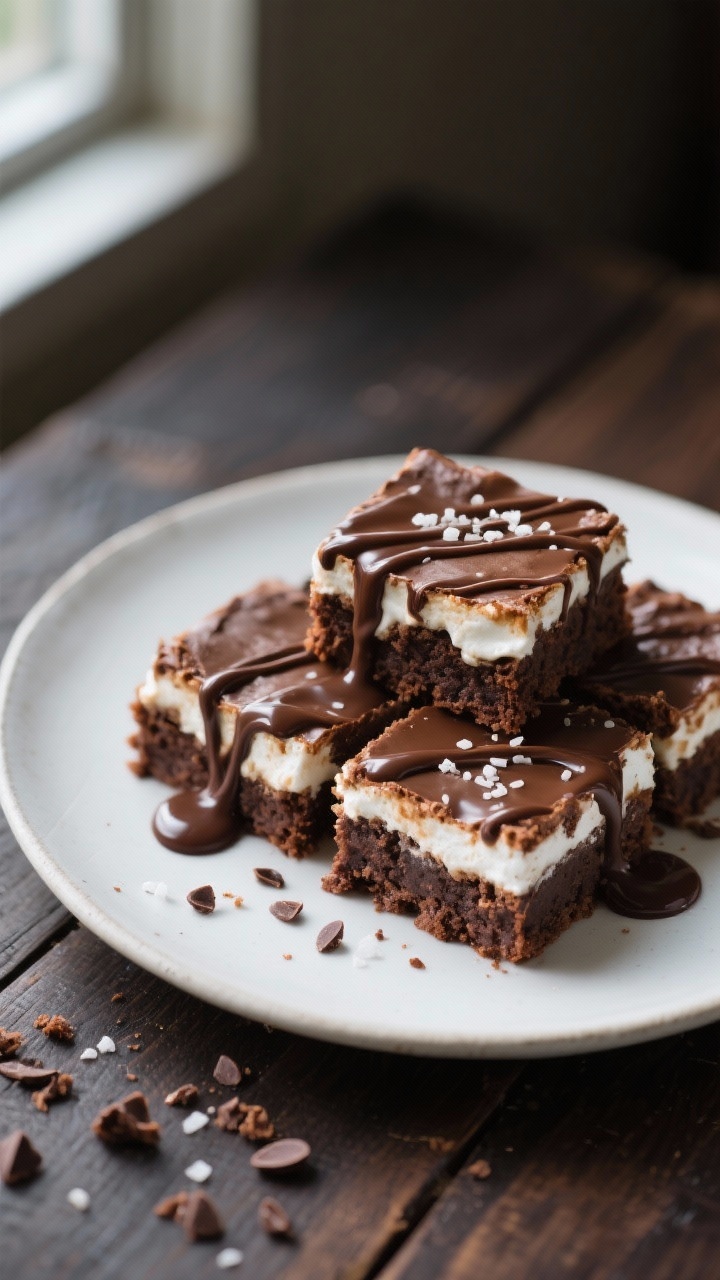
- Optional drizzle. While the marshmallows set, melt the remaining 1/4 cup chocolate chips with 1 tablespoon oil in the microwave in 20-second bursts, stirring between each, until smooth. Drizzle over the warm marshmallow layer.
- Cool before cutting. Let the pan cool on a rack for at least 45–60 minutes. For cleaner cuts, chill for 20 minutes after cooling. Lift out using the parchment and cut with a greased knife.
What Makes This Special

This recipe balances deep chocolate flavor with a light, sweet marshmallow topping, so you get both fudgy and fluffy in one square. The batter is quick—no mixer needed—and uses pantry staples.
Marshmallows melt into a glossy layer that pairs beautifully with the dense brownie underneath. Add a light chocolate drizzle and you’ve got a party dessert with very little effort. It’s a simple bake that still feels a bit indulgent.
Ingredients
- 1/2 cup (1 stick) unsalted butter, melted
- 1 cup granulated sugar
- 2 large eggs, room temperature
- 1 teaspoon vanilla extract
- 1/3 cup unsweetened cocoa powder (natural or Dutch-process)
- 1/2 cup all-purpose flour
- 1/4 teaspoon baking powder
- 1/4 teaspoon fine salt
- 1 cup mini marshmallows (or roughly chopped large marshmallows)
- 1/2 cup chocolate chips (optional, for extra chocolate or drizzle)
- 1 tablespoon neutral oil (only if making chocolate drizzle)
- Nonstick spray or butter for the pan
How to Make It

- Prep the pan and oven. Heat the oven to 350°F (175°C).
Line an 8-inch square pan with parchment, leaving an overhang for easy lifting. Lightly grease the parchment and sides.
- Melt the butter. In a microwave-safe bowl or small saucepan, melt the butter until just liquid, not sizzling. Let it cool for 2–3 minutes so it doesn’t scramble the eggs.
- Whisk the wet ingredients. In a medium bowl, whisk the melted butter with the sugar until glossy.
Add the eggs and vanilla, whisking until the mixture looks thick and slightly lightened, about 30 seconds.
- Combine the dry ingredients. In a separate bowl, whisk cocoa, flour, baking powder, and salt until no streaks remain.
- Make the batter. Add the dry mix to the wet and stir with a spatula just until combined. If using chocolate chips inside the brownies, fold in 1/4 cup now.
- Bake the base. Spread the batter evenly in the pan. Bake for 18–22 minutes, until the top is set and a toothpick inserted near the center comes out with a few moist crumbs.
Don’t overbake.
- Add the marshmallows. Remove the pan and quickly scatter the mini marshmallows in an even layer over the hot brownies. Return to the oven for 2–3 minutes, just until the marshmallows puff and start to look glossy at the edges.
- Optional drizzle. While the marshmallows set, melt the remaining 1/4 cup chocolate chips with 1 tablespoon oil in the microwave in 20-second bursts, stirring between each, until smooth. Drizzle over the warm marshmallow layer.
- Cool before cutting. Let the pan cool on a rack for at least 45–60 minutes.
For cleaner cuts, chill for 20 minutes after cooling. Lift out using the parchment and cut with a greased knife.
How to Store
- Room temperature: Store in an airtight container for up to 2 days. The marshmallow stays soft but can become sticky.
- Refrigerator: Keeps 4–5 days.
Texture becomes chewier; bring to room temp for 15 minutes before serving.
- Freezer: Freeze cut squares on a sheet until firm, then wrap individually and place in a freezer bag for up to 2 months. Thaw at room temperature; avoid reheating or the marshmallow can melt out of shape.
Why This is Good for You
It’s a treat, and that’s okay. Desserts like this can be part of a balanced lifestyle when enjoyed in reasonable portions.
You’re making it at home, which means fewer additives and the option to control sweetness and portion size. Plus, sharing homemade dessert with friends or family can be a small act of care and connection. That emotional lift is worth something.
Pitfalls to Watch Out For
- Overbaking the base: If the brownie is fully baked before the marshmallow step, it can turn dry.
Pull it when a toothpick shows moist crumbs, not a clean stick.
- Melting marshmallows too much: A few minutes is all you need. If they turn golden or collapse, they’ll lose that soft, stretchy texture.
- Skipping the cool time: Cutting while hot leads to a smeared, sticky mess. Cool thoroughly for neat squares.
- Uneven pan heat: Dark metal pans bake faster than glass.
If using glass, add 2–3 minutes and check carefully near the end.
- Using cold eggs: Cold eggs can make the batter seize slightly. Room temperature helps the batter combine smoothly.
Recipe Variations
- Rocky Road Brownies: Fold in chopped toasted almonds and a handful of chocolate chips to the batter. Add marshmallows on top as directed.
- Salted Caramel Swirl: Drizzle 2–3 tablespoons of warm caramel over the baked base before adding marshmallows.
Finish with a pinch of flaky salt on top.
- Mocha Twist: Add 1 teaspoon instant espresso powder to the cocoa for deeper flavor. A coffee note sharpens the chocolate beautifully.
- Peanut Butter Ribbon: Warm 2 tablespoons peanut butter until runny and swirl over the puffed marshmallows, then drizzle with chocolate.
- Extra Fudgy: Replace 2 tablespoons of flour with 2 tablespoons of cocoa and add 1 tablespoon of oil to the batter for a denser crumb.
- Gluten-Free: Use a measure-for-measure gluten-free flour blend. Choose marshmallows labeled gluten-free if needed.
FAQ
Can I use large marshmallows instead of mini?
Yes.
Cut them in halves or quarters with kitchen scissors lightly coated in oil. Spread them evenly so they melt at the same rate.
Do I need a mixer?
No. A whisk and spatula are enough.
Overmixing can make brownies cakey, so hand mixing is actually ideal here.
How do I get clean slices?
Cool completely, then chill briefly. Use a sharp knife, wipe between cuts, and lightly grease the blade or dip it in hot water and dry it before each slice.
Can I double the recipe?
Yes. Bake in a 9×13-inch pan.
Start checking at 24 minutes for the base; add marshmallows and bake a few minutes more as directed.
Which cocoa is best?
Either natural or Dutch-process works. Dutch-process gives a smoother, deeper chocolate flavor; natural leans a little brighter and more intense.
Why did my marshmallows harden?
Overbaking or long, uncovered storage can make them firm. Keep the marshmallow bake time short, and store brownies in an airtight container.
Can I reduce the sugar?
You can cut the sugar to 3/4 cup, but the texture will be less fudgy and slightly drier.
Consider keeping the sugar in the batter and reducing the drizzle instead.
What if I only have salted butter?
Use it and omit the added salt. The result will be slightly more savory, which many people enjoy with chocolate.
How do I know when the brownie base is ready for marshmallows?
The top should look set and slightly shiny, and a toothpick near the center should show moist crumbs. If it’s still liquid, give it another 2 minutes and check again.
Can I add nuts?
Absolutely.
Fold in up to 1/2 cup chopped walnuts or pecans with the batter. Toast them first for better flavor and crunch.
Final Thoughts
These Easy Homemade Marshmallow Brownies are all about comfort with a little drama on top. They come together fast, bake in under half an hour, and look like you fussed far more than you did.
Keep the method simple, watch the timing, and let them cool before cutting. Whether you serve them warm with ice cream or pack them for a picnic, they’re the kind of treat that disappears quickly—always a good sign.

Printable Recipe Card
Want just the essential recipe details without scrolling through the article? Get our printable recipe card with just the ingredients and instructions.

Sumayya is a home cook and recipe creator who shares simple, flavorful recipes made for everyday cooking. She believes good food should be easy, comforting, and enjoyed by everyone.


