Air Fryer Chicken Strips – Crispy, Juicy, and Easy
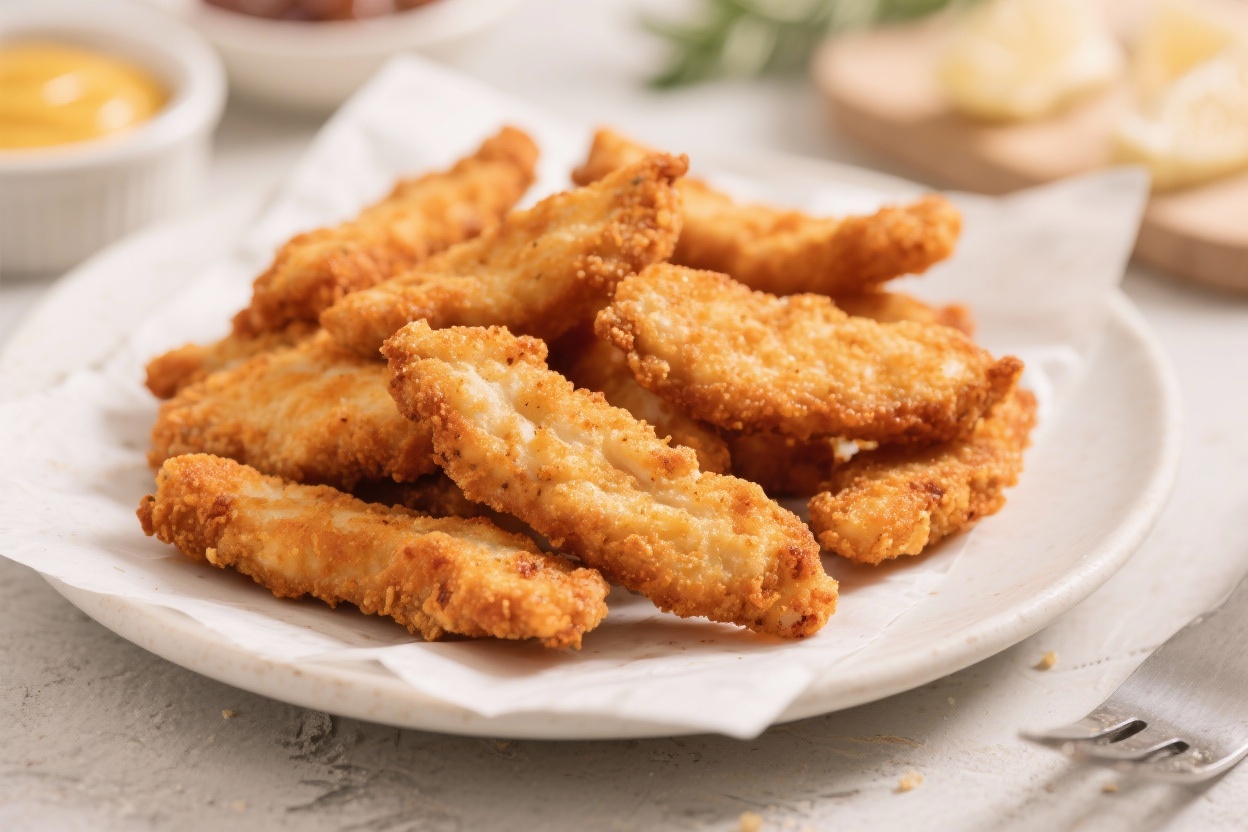
Skip the drive-thru and make these crunchy, juicy chicken strips at home. They’re simple, fast, and made with pantry staples you probably already have. The air fryer gives you that golden crunch with a fraction of the oil, and the meat stays tender inside.
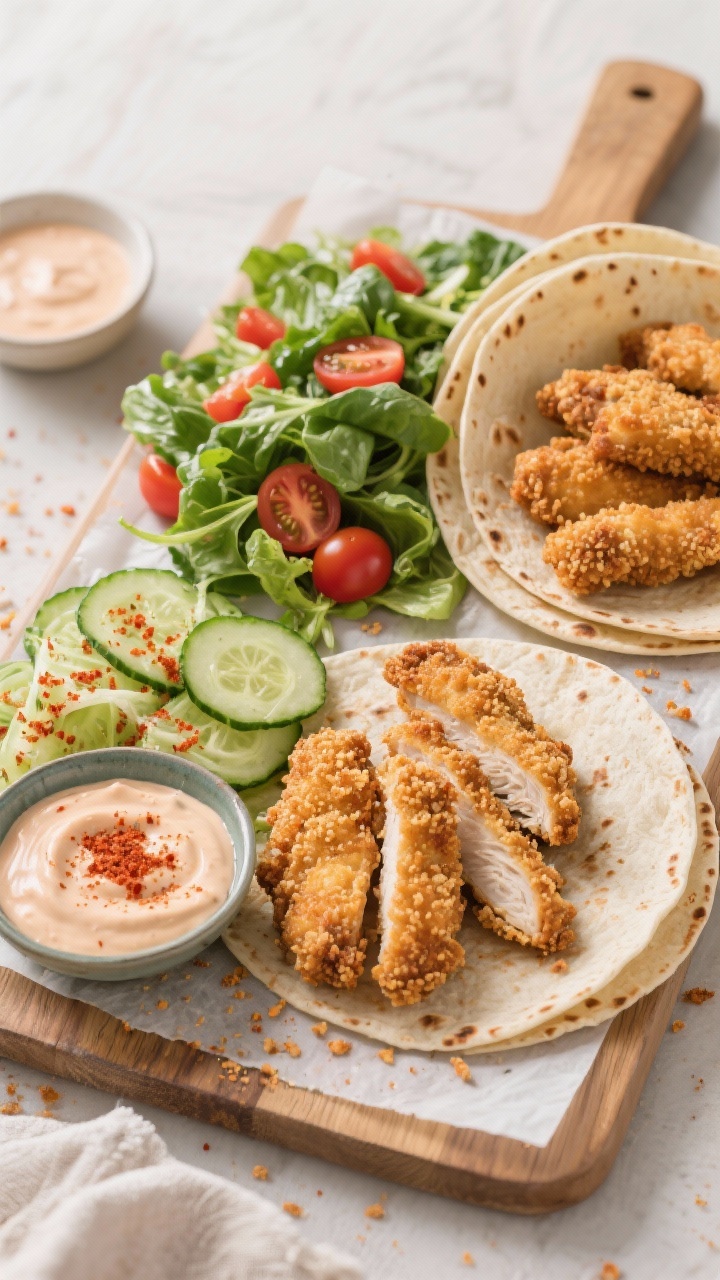
Serve them with your favorite dip, tuck them into wraps, or pile them on a salad. This is a weeknight win that tastes like a treat.
Ingredients
Method
- Prep the chicken: Pat the chicken strips dry with paper towels. Trimming excess moisture helps the coating stick and crisp better.
- Set up your dredging station: In one shallow bowl, add flour. In a second, whisk eggs with milk. In a third, combine panko, fine breadcrumbs, salt, pepper, garlic powder, onion powder, smoked paprika, oregano, and Parmesan if using.
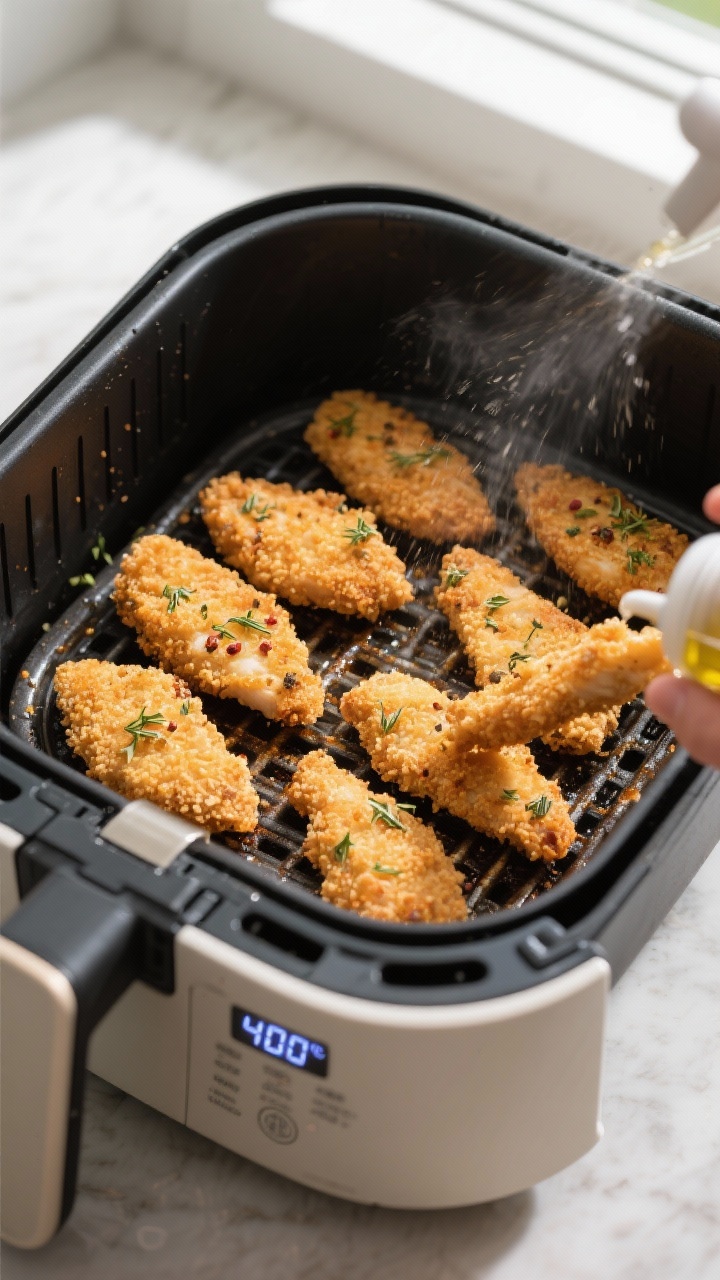
- Preheat the air fryer: Set it to 400°F (200°C) for 3–5 minutes. A hot basket jump-starts browning.
- Coat the chicken: Working one strip at a time, coat in flour (shake off excess), dip in egg, then press into the breadcrumb mixture until fully covered. Set on a plate or rack.
- Oil lightly: Spray both sides of the coated strips with oil. Don’t skip this step; it’s key to even browning.
- Load the basket: Arrange chicken in a single layer with a little space between pieces. Avoid crowding. Cook in batches if needed.
- Air fry: Cook at 400°F (200°C) for 10–12 minutes, flipping halfway and spraying again after the flip. Strips are done when golden and the internal temperature hits 165°F (74°C).
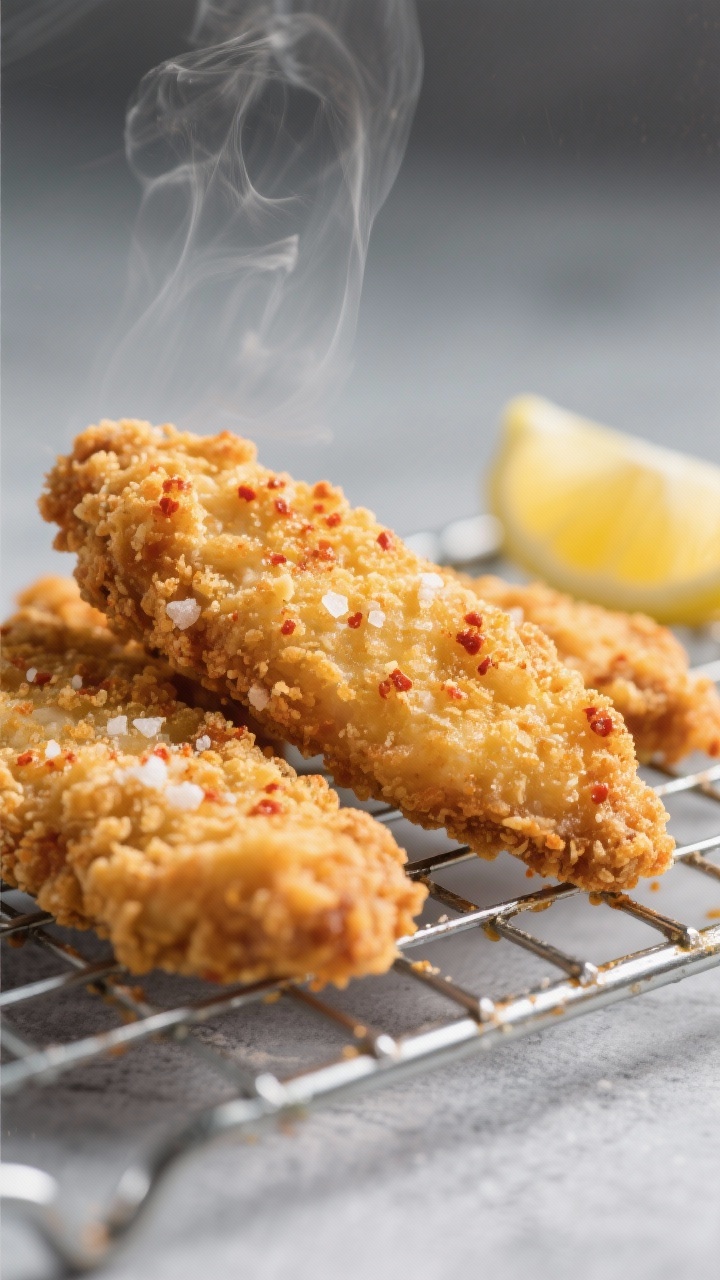
- Season and rest: Sprinkle with a pinch of salt right after cooking, and let them rest for 2 minutes so the crust sets.
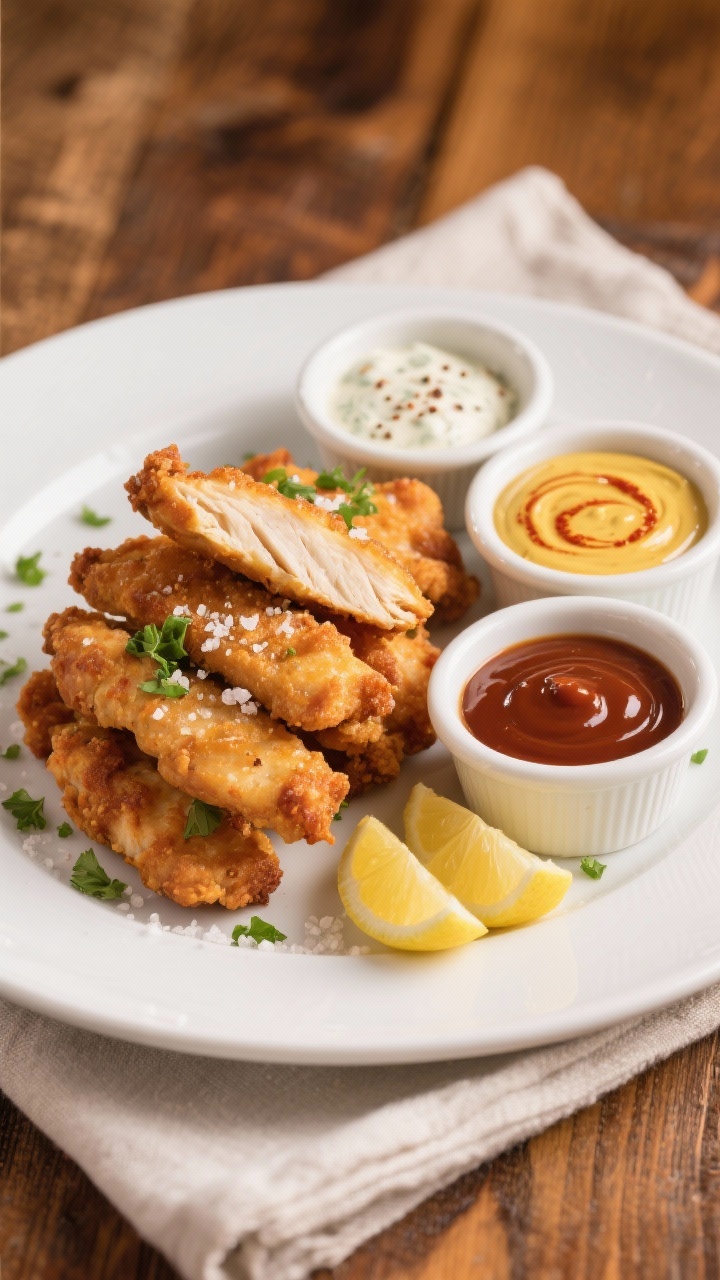
- Serve: Add a squeeze of lemon if you like and plate with your favorite dip. Enjoy hot.
What Makes This Special
These chicken strips deliver classic comfort with a lighter touch. The air fryer creates a crispy coating without deep-frying, so you get the crunch you crave with less mess and less oil.
The seasoning blend is balanced—savory with a hint of warmth—so the flavor works with ranch, honey mustard, barbecue sauce, or whatever you love. Best of all, they cook fast and reheat well, making them perfect for busy nights and meal prep.
Ingredients
- 1.5 pounds chicken breasts, sliced into 1-inch-wide strips
- 1 cup panko breadcrumbs
- 1/2 cup fine breadcrumbs (or crushed cornflakes for extra crunch)
- 1/2 cup all-purpose flour
- 2 large eggs
- 2 tablespoons milk or water
- 1 teaspoon kosher salt, plus more to finish
- 1/2 teaspoon black pepper
- 1 teaspoon garlic powder
- 1 teaspoon onion powder
- 1 teaspoon smoked paprika (or sweet paprika)
- 1/2 teaspoon dried oregano
- 1–2 tablespoons grated Parmesan (optional, for extra savory flavor)
- Olive oil spray or neutral oil spray
- Lemon wedges, to serve (optional)
- Favorite dipping sauces: ranch, honey mustard, barbecue, or hot sauce
Step-by-Step Instructions
- Prep the chicken: Pat the chicken strips dry with paper towels. Trimming excess moisture helps the coating stick and crisp better.
- Set up your dredging station: In one shallow bowl, add flour.
In a second, whisk eggs with milk. In a third, combine panko, fine breadcrumbs, salt, pepper, garlic powder, onion powder, smoked paprika, oregano, and Parmesan if using.
- Preheat the air fryer: Set it to 400°F (200°C) for 3–5 minutes. A hot basket jump-starts browning.
- Coat the chicken: Working one strip at a time, coat in flour (shake off excess), dip in egg, then press into the breadcrumb mixture until fully covered.
Set on a plate or rack.
- Oil lightly: Spray both sides of the coated strips with oil. Don’t skip this step; it’s key to even browning.
- Load the basket: Arrange chicken in a single layer with a little space between pieces. Avoid crowding. Cook in batches if needed.
- Air fry: Cook at 400°F (200°C) for 10–12 minutes, flipping halfway and spraying again after the flip. Strips are done when golden and the internal temperature hits 165°F (74°C).
- Season and rest: Sprinkle with a pinch of salt right after cooking, and let them rest for 2 minutes so the crust sets.
- Serve: Add a squeeze of lemon if you like and plate with your favorite dip.
Enjoy hot.
Keeping It Fresh
Leftovers hold up nicely if you store them well. Cool the strips completely, then refrigerate in an airtight container for up to 4 days. For freezing, arrange on a baking sheet, freeze until solid, and transfer to a freezer bag for up to 2 months.
To reheat, use the air fryer at 360°F (182°C) for 4–6 minutes until hot and crisp. Avoid the microwave for reheating if you can—it softens the crust. If you must use it, give the strips a quick air-fryer blast afterward to bring the crunch back.
Why This is Good for You
Chicken breast is a lean protein that keeps you full without a lot of saturated fat.
Air frying uses much less oil than deep-frying, which lowers calories while still delivering that crispy texture. Panko and spices add flavor and crunch without heavy batters. Pair your strips with a salad, roasted veggies, or a whole-grain side to round out the meal.
Pitfalls to Watch Out For
- Overcrowding the basket: Too many pieces at once trap steam and lead to soggy coating.
Cook in batches for best results.
- Skipping the oil spray: A light spray is what helps the crumbs turn golden. Dry crumbs can stay pale.
- Uneven sizes: Make your chicken strips similar in thickness so they cook at the same rate.
- Undersalting: Season the breadcrumb mixture and finish with a pinch of salt after cooking to make the flavors pop.
- Not preheating: A cold air fryer can cause sticking and slower browning.
- Rushing the flip: Flip around the halfway mark and respray to get an even crust on both sides.
Alternatives
- Gluten-free: Use gluten-free panko and flour, or swap flour for cornstarch. Check your spices are certified gluten-free.
- Dairy-free: Skip the Parmesan and use water instead of milk in the egg wash.
- Spice it up: Add cayenne or chili powder to the crumbs.
Serve with a spicy mayo or buffalo sauce.
- Herb-forward: Mix in dried thyme, parsley, or Italian seasoning for a brighter flavor.
- Parmesan-crusted: Increase Parmesan to 1/4 cup and add a pinch of black pepper for a cheesier crust.
- Chicken thighs: Use boneless skinless thighs for juicier strips. Cook 1–2 minutes longer and check temp.
- Buttermilk brine: Marinate strips in buttermilk with a little salt and hot sauce for 1–4 hours. Pat dry lightly before breading for extra tenderness.
FAQ
Can I cook these from frozen?
Yes.
If the strips are already breaded and frozen, cook at 380°F (193°C) for 12–15 minutes, flipping once. If freezing raw breaded strips at home, add 2–3 minutes to the usual cook time and confirm they reach 165°F (74°C).
How do I keep the breading from falling off?
Pat the chicken dry, press the crumbs firmly, and let the coated strips rest for 5 minutes before cooking. Handle them gently with tongs and flip only once.
What if I don’t have panko?
Use all regular breadcrumbs or crushed cornflakes.
Panko gives the best crunch, but cornflakes are a solid backup.
Can I make these without eggs?
Yes. Use a mixture of 2 tablespoons mayonnaise thinned with 1–2 teaspoons water to help the crumbs stick, or use unsweetened dairy-free milk mixed with 1 tablespoon cornstarch.
What sauces go best with these?
Ranch, honey mustard, barbecue, buffalo, chipotle mayo, or a simple mix of ketchup and mayo all work well. A squeeze of lemon is great for brightness.
Do I need to flip the chicken in the air fryer?
Flipping gives you even browning.
Spray after flipping to refresh the oil mist on the new top side.
Can I bake these in the oven instead?
Yes. Bake on a wire rack set over a sheet pan at 425°F (218°C) for 14–18 minutes, flipping once. Spray lightly with oil for better color.
In Conclusion
Air fryer chicken strips are a quick, crowd-pleasing favorite with a satisfying crunch and juicy center.
With a few simple tricks—preheating, a light oil spray, and not crowding the basket—you’ll get consistent, golden results. Keep a batch in the freezer for easy meals, switch up the seasonings to match your mood, and pair with your go-to sauces. This is a weeknight staple you’ll make again and again.
Printable Recipe Card
Want just the essential recipe details without scrolling through the article? Get our printable recipe card with just the ingredients and instructions.

Sumayya is a home cook and recipe creator who shares simple, flavorful recipes made for everyday cooking. She believes good food should be easy, comforting, and enjoyed by everyone.