Chocolate Chip Cookie Dough Cups – A Fun, No-Bake Treat
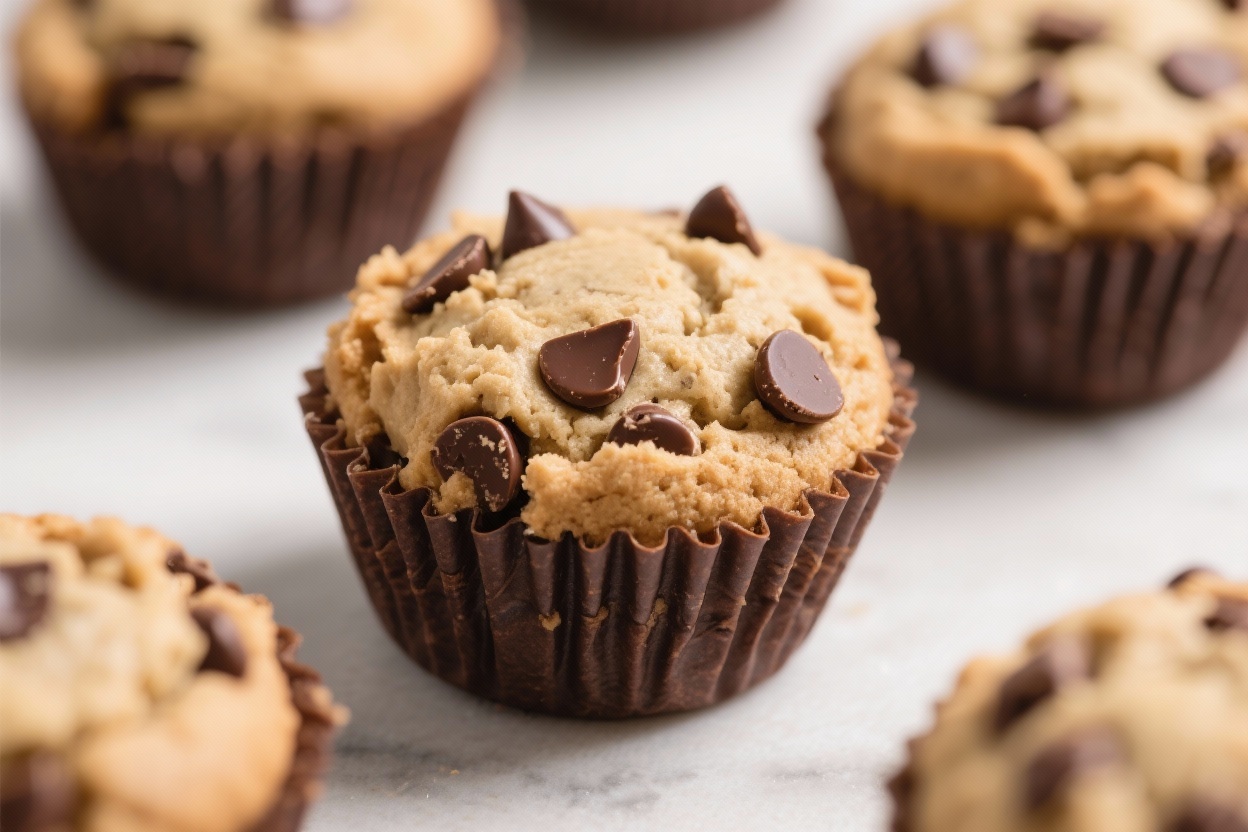
If you love the flavor of cookie dough and the snap of chocolate, these Chocolate Chip Cookie Dough Cups are the sweet spot in between. They’re easy to make, no oven needed, and look like something you’d find in a cozy bakery case. The filling is safe-to-eat cookie dough, wrapped in a silky chocolate shell.
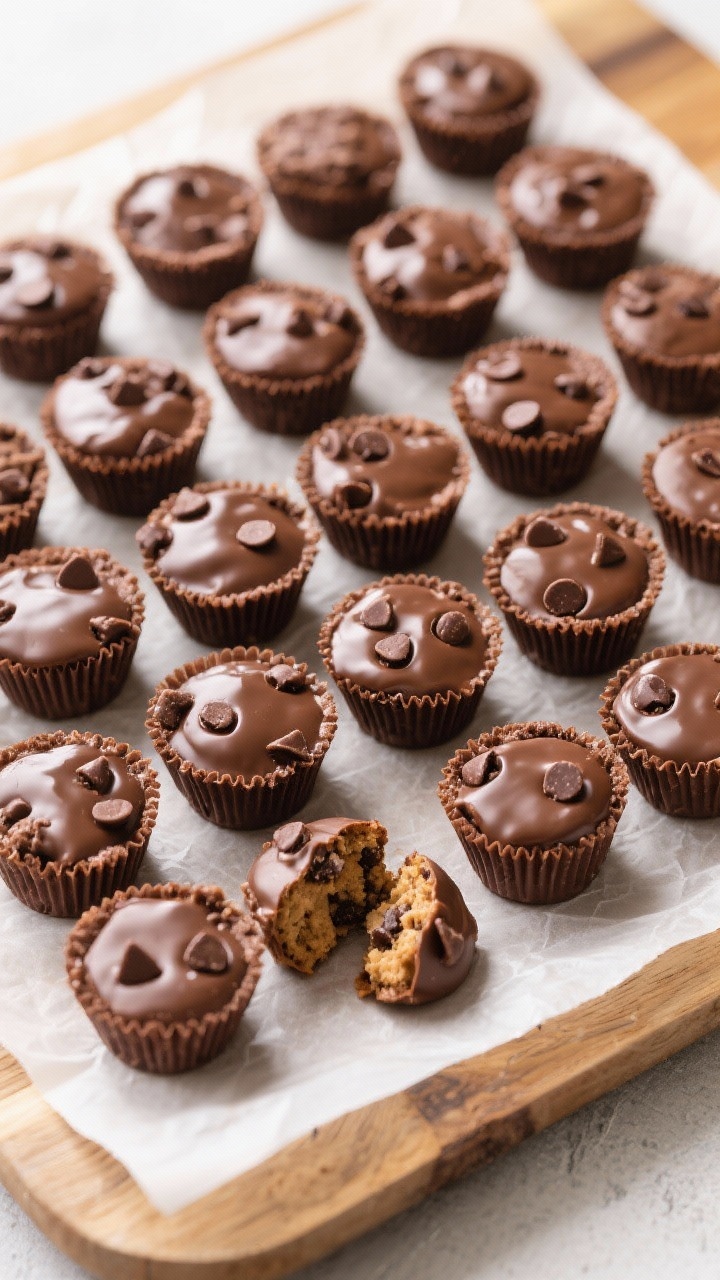
Keep a batch in the fridge for a quick dessert, or bring them to a party and watch them disappear. They’re simple, nostalgic, and totally satisfying.
Ingredients
Method
- Prep your pan: Line a standard muffin tin with paper liners. This makes removal easy and keeps the chocolate from sticking.
- Heat-treat the flour: Spread the flour on a baking sheet and bake at 300°F (150°C) for 5–7 minutes, or microwave in 20–30 second bursts, stirring between rounds, until it reaches 165°F. Let it cool completely. This step makes the dough safe to eat.
- Melt the chocolate: Place chocolate in a microwave-safe bowl. Heat in 20–30 second intervals, stirring between each, until smooth and glossy. Do not overheat.
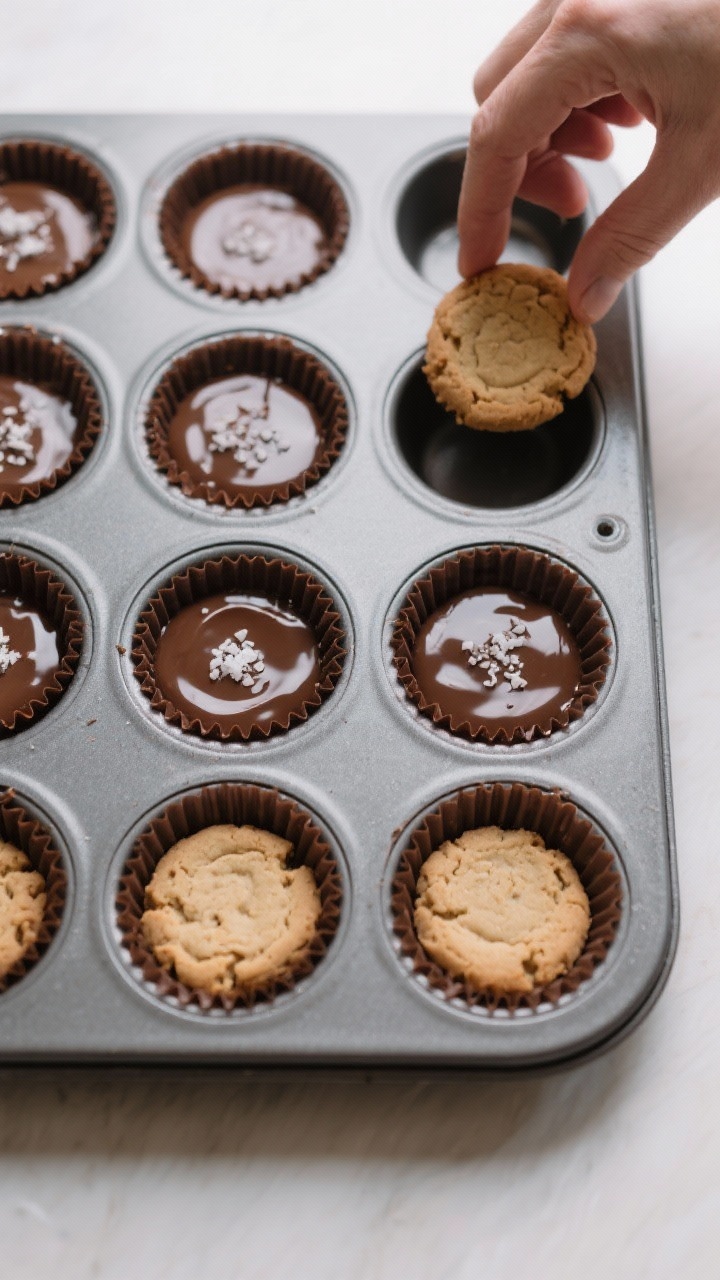
- Create the chocolate base: Spoon about 1 to 1.5 teaspoons of melted chocolate into each liner. Tilt and swirl the pan so the chocolate coats the bottom and slightly up the sides. Chill for 5–10 minutes, until set.
- Make the cookie dough: In a mixing bowl, beat the softened butter, brown sugar, and granulated sugar until creamy and smooth. Add vanilla and a pinch of salt. Stir in the cooled, heat-treated flour. Add 1–2 tablespoons milk or cream, just enough to bring the dough together. Fold in mini chocolate chips.
- Portion the filling: Roll or scoop small balls of dough (about 1 tablespoon each). Flatten slightly so they nestle into the chocolate cups without poking above the liner.
- Assemble the cups: Place one portion of cookie dough into each chocolate-lined cup. Gently press down so it adheres to the base.
- Seal with chocolate: Spoon more melted chocolate over the dough to cover completely, tapping the pan on the counter to smooth the tops and release air bubbles. If you like, sprinkle a tiny pinch of flaky sea salt on top.
- Chill to set: Refrigerate for 20–30 minutes, or until the chocolate is firm. If you’re in a hurry, pop them in the freezer for 10–15 minutes.
- Serve and store: Peel away the liners and enjoy. Keep extras in an airtight container in the fridge.
Why This Recipe Works

This recipe keeps things simple without sacrificing texture or taste. The chocolate shell gives you a clean, crisp bite, while the dough inside stays soft and buttery.
There are no eggs, and the flour is heat-treated, so the filling is safe to eat straight from the bowl. Mini chocolate chips distribute evenly and keep each cup balanced. Best of all, the recipe scales easily and uses pantry staples you probably already have.
Shopping List
- Chocolate: Semi-sweet or dark chocolate chips, bars, or melting wafers (about 12 ounces)
- Butter: Unsalted, softened (1/2 cup)
- Sugars: Light brown sugar (1/2 cup, packed) and granulated sugar (1/4 cup)
- Vanilla extract: 1 teaspoon
- Milk or cream: 1–2 tablespoons, as needed
- All-purpose flour: 1 cup, heat-treated
- Salt: A pinch (about 1/8 teaspoon)
- Mini chocolate chips: 1/2 cup for the dough
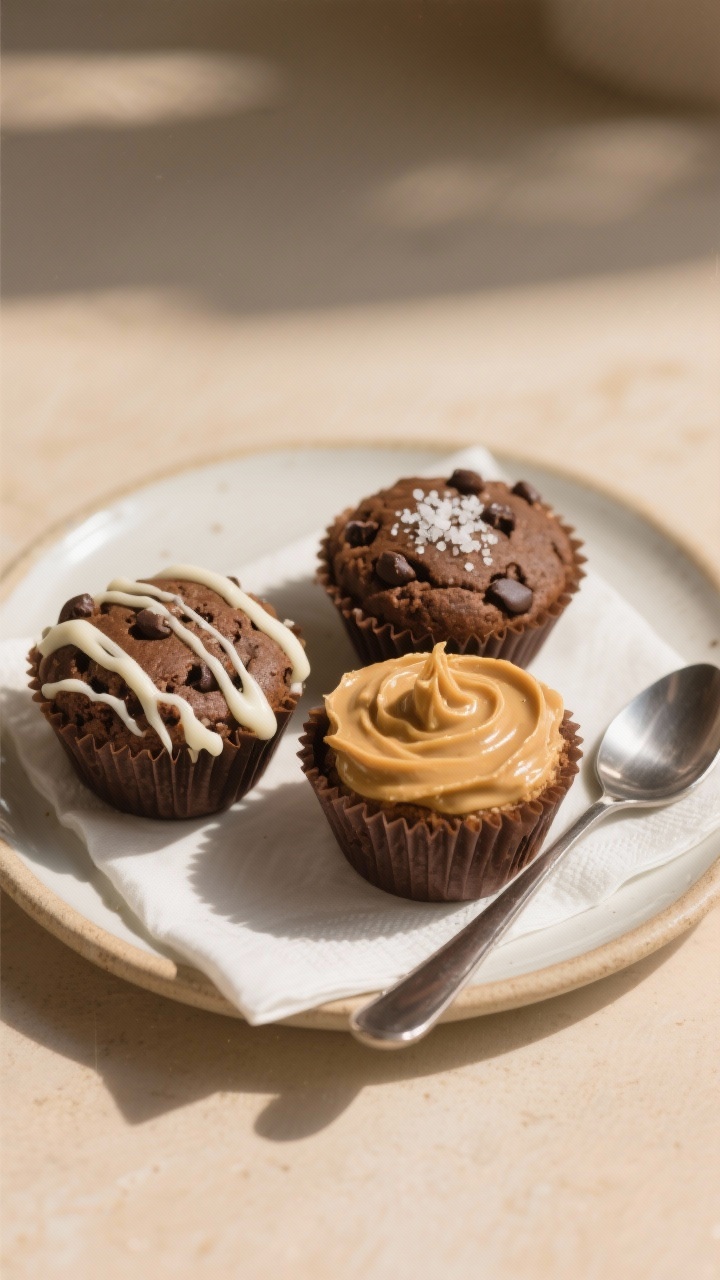
- Optional add-ins: Flaky sea salt for topping, peanut butter swirls, chopped nuts, or sprinkles
- Equipment: 12-cup muffin tin and paper liners, microwave-safe bowl, mixing bowls, spoon, spatula
Step-by-Step Instructions
- Prep your pan: Line a standard muffin tin with paper liners.
This makes removal easy and keeps the chocolate from sticking.
- Heat-treat the flour: Spread the flour on a baking sheet and bake at 300°F (150°C) for 5–7 minutes, or microwave in 20–30 second bursts, stirring between rounds, until it reaches 165°F. Let it cool completely. This step makes the dough safe to eat.
- Melt the chocolate: Place chocolate in a microwave-safe bowl.
Heat in 20–30 second intervals, stirring between each, until smooth and glossy. Do not overheat.
- Create the chocolate base: Spoon about 1 to 1.5 teaspoons of melted chocolate into each liner. Tilt and swirl the pan so the chocolate coats the bottom and slightly up the sides.
Chill for 5–10 minutes, until set.
- Make the cookie dough: In a mixing bowl, beat the softened butter, brown sugar, and granulated sugar until creamy and smooth. Add vanilla and a pinch of salt. Stir in the cooled, heat-treated flour.
Add 1–2 tablespoons milk or cream, just enough to bring the dough together. Fold in mini chocolate chips.
- Portion the filling: Roll or scoop small balls of dough (about 1 tablespoon each). Flatten slightly so they nestle into the chocolate cups without poking above the liner.
- Assemble the cups: Place one portion of cookie dough into each chocolate-lined cup.
Gently press down so it adheres to the base.
- Seal with chocolate: Spoon more melted chocolate over the dough to cover completely, tapping the pan on the counter to smooth the tops and release air bubbles. If you like, sprinkle a tiny pinch of flaky sea salt on top.
- Chill to set: Refrigerate for 20–30 minutes, or until the chocolate is firm. If you’re in a hurry, pop them in the freezer for 10–15 minutes.
- Serve and store: Peel away the liners and enjoy.
Keep extras in an airtight container in the fridge.
Keeping It Fresh
Store the cups in an airtight container in the refrigerator for up to 1 week. For longer storage, freeze them for up to 2 months. Let frozen cups sit at room temperature for 10–15 minutes before eating so the dough softens a bit.
Tip: Moisture is the enemy of chocolate’s shine.
Keep the container sealed to prevent condensation, and avoid frequent temperature swings.
Health Benefits
These are a treat, but you can still make a few smart choices. Using dark chocolate (70% cocoa or higher) adds antioxidants and reduces added sugar. Mini chips in the dough help with portion control—each bite feels indulgent without overloading on chocolate.
Balanced swaps: Try cutting the sugar slightly or using a mix of whole wheat pastry flour and all-purpose flour for a bit more fiber.
You can also use almond flour for a gluten-free version and add a tablespoon of ground flaxseed for extra texture and nutrients.
Common Mistakes to Avoid
- Skipping the heat-treat step: Raw flour isn’t safe to eat. Heat-treating takes minutes and matters.
- Overheating chocolate: Chocolate scorches easily. Melt in short bursts and stir well.
If it seizes, add a small splash of neutral oil to loosen.
- Too-dry dough: If the dough crumbles, add milk or cream 1 teaspoon at a time until soft and pliable.
- Thick chocolate base: If the base is too thick, it’s hard to bite. Aim for a thin, even layer on the bottom and sides.
- Filling over the rim: Keep the dough below the liner’s edge so the top layer of chocolate seals cleanly.
Alternatives
- Gluten-free: Use fine almond flour or a certified gluten-free all-purpose blend. If using almond flour, skip heat-treating and add an extra pinch of salt.
- Dairy-free/vegan: Swap in vegan butter and dairy-free chocolate.
Use plant-based milk (like oat or almond) to bring the dough together.
- Flavor twists: Add 1–2 tablespoons peanut butter or tahini to the dough for a nutty note. Stir in chopped toasted almonds, shredded coconut, or mini M&Ms.
- Chocolate variations: Try milk chocolate for a sweeter shell, or white chocolate for a candy-like finish. Drizzle a contrasting chocolate on top for flair.
- Mini size: Use a mini muffin tin for bite-sized cups.
Reduce the chocolate and dough portions accordingly and shorten chill time.
FAQ
Do I have to heat-treat the flour?
Yes, if you’re using traditional all-purpose flour. Heat-treating reduces the risk of harmful bacteria. If you choose almond flour or a heat-treated flour product, you can skip this step.
Can I use edible cookie dough from the store?
Absolutely.
Store-bought edible dough works well, especially if you want to save time. Just make sure it’s labeled safe to eat raw.
What if my chocolate won’t melt smoothly?
Make sure your bowl and utensils are completely dry; water causes chocolate to seize. Melt in short intervals and stir often.
If needed, add 1 teaspoon of neutral oil or coconut oil to loosen the texture.
How do I keep the chocolate from cracking?
Keep the layers fairly thin and let the cups come to room temperature for a few minutes before unwrapping. Tapping the pan gently after filling helps remove air bubbles that can cause weak spots.
Can I make these ahead for a party?
Yes. Make them up to 3 days ahead and store them in the fridge.
For the best look, add any decorative drizzle or flaky salt the day you serve.
What’s the best chocolate to use?
Use good-quality chocolate you enjoy eating on its own. Bars melt more smoothly than chips, but chips are convenient. Semi-sweet is the most balanced, while dark chocolate gives a richer, less sweet bite.
Can I reduce the sugar?
Yes.
You can cut the combined sugars in the dough by 2–3 tablespoons without changing texture much. Keep in mind the chocolate shell also adds sweetness.
Wrapping Up
Chocolate Chip Cookie Dough Cups are the kind of treat that feels special without a lot of work. You get creamy, safe-to-eat cookie dough tucked inside a crisp chocolate shell, and the steps are easy enough for a weeknight.
Customize the flavors, stash some in the fridge, and you’ve got a reliable dessert ready to share—or keep all to yourself. Simple ingredients, big smiles, repeat-worthy results.
Printable Recipe Card
Want just the essential recipe details without scrolling through the article? Get our printable recipe card with just the ingredients and instructions.


